Deploying Tensorflow Model on Google Cloud Platform
- Brian Ho

- Aug 15, 2019
- 2 min read

You have spent many days developing your RNN model and many sleepless nights wondering how to improve its performance. Your machine trained tirelessly epoch after epoch. You talk to your stakeholders for one last time and finally you have the green light to push your model to production. But wait... How do you do that?!?
I personally trawled through multiple Google help pages, Tensorflow documentations and even powered through a 3-week Coursera in 1 day, only to get a half-baked solution. Hence, I would like to share how I went past this final hurdle.
Before deploying your precious model, you will need to get the following ready:
Signed up for Google Cloud
Registered a payment method in Google Cloud (for the use of APIs)
Access to Google Cloud Storage
Access to Google Cloud AI Platform Notebooks, with API enabled
Access to Google Cloud AI Platform Models, with API enabled
Note: This guide aims to guide you through the essential steps of deploying a model. It is, by no means, a best-practice guide.
Now, let's get started...
Creating a Bucket in Google Cloud Storage
A bucket is required to store and host your saved model on GCP.
First, go to Storage on GCP Console and create a Bucket.

Next, set the name and class of the bucket. Once done, create the Bucket.


Creating and Saving a Model
In this section, you will create a simple neural network model on Google AI Platform. The advantage of creating the model here is it reduce the possibility of running into dependency issues.
First, go to AI Platform Notebooks on GCP Console and create a new Instance. Select TensorFlow 1.x -> Without GPUs. You might need to enable API if you have not done so.
Note: Deploying a Tensorflow 2.0 model is still not available at the point of writing.

The new Instance will take a few minutes to fire up. Once ready, Open JupyterLab.


Let's import a simple NN model using Kera's Boston Housing data. The results are non-trivial so we can test and validate the model post-deployment. Import the Python 3 Notebook from here. Alternatively, you can clone the repo.
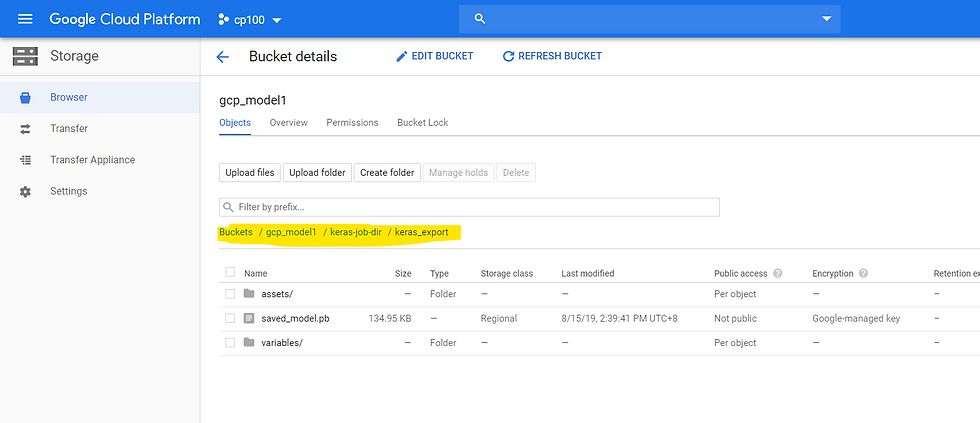
In the first cell, change the Bucket according to the bucket that has been created. Execute all the codes in the notebook and the model will be saved to the following directory:
gs://{YOUR BUCKET}/keras-job-dir/keras_export
Note: The code to save the model will not work if the model is built directly on Keras. Reference tensorflow.keras instead of keras.
Create AI Model and Model Version
We are almost there....
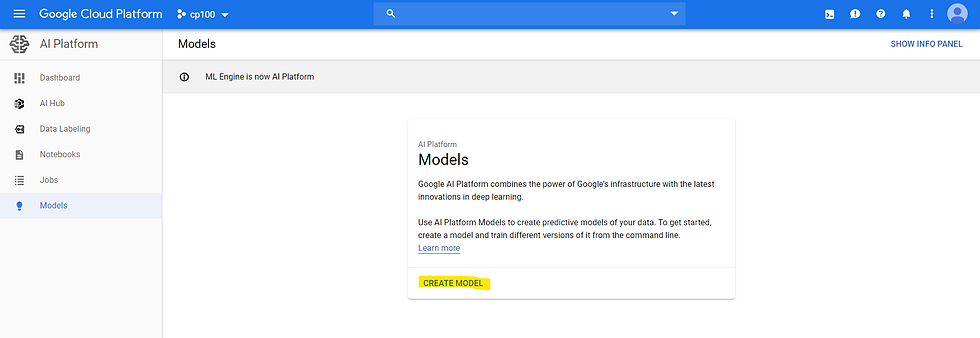
Let's go to AI Platform Models on GCP Console and create a new Model. You might need to enable API if you have not done so. Give your model a name (eg boston_housing) and keep the remaining default settings.
With the model created, create a model version.

We will create the model version using the following configuration:
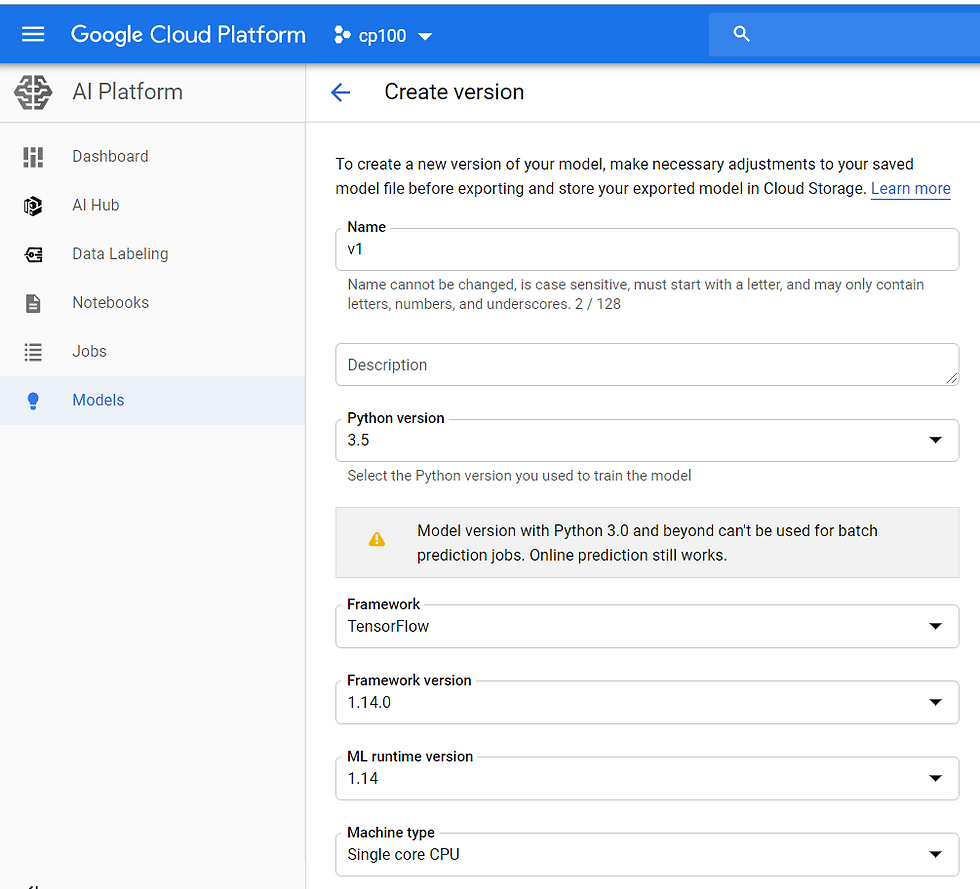
Under Model URI, we will point it to the bucket directory where the model was saved earlier:
gs://{YOUR BUCKET}/keras-job-dir/keras_export

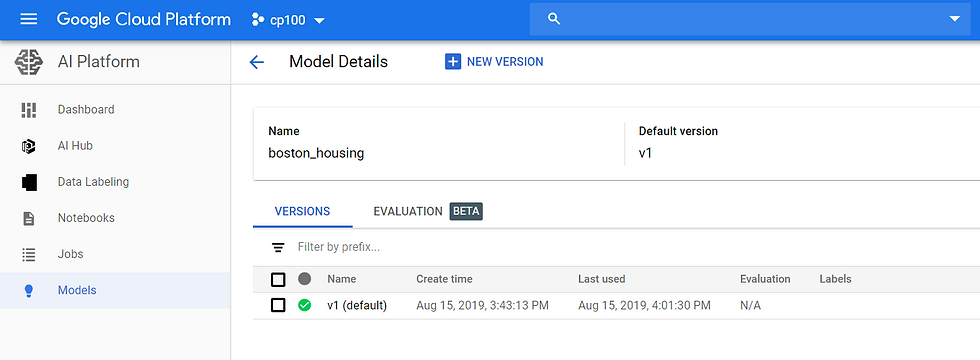
Save the version and wait for the model to be deployed. This may take a few minutes.
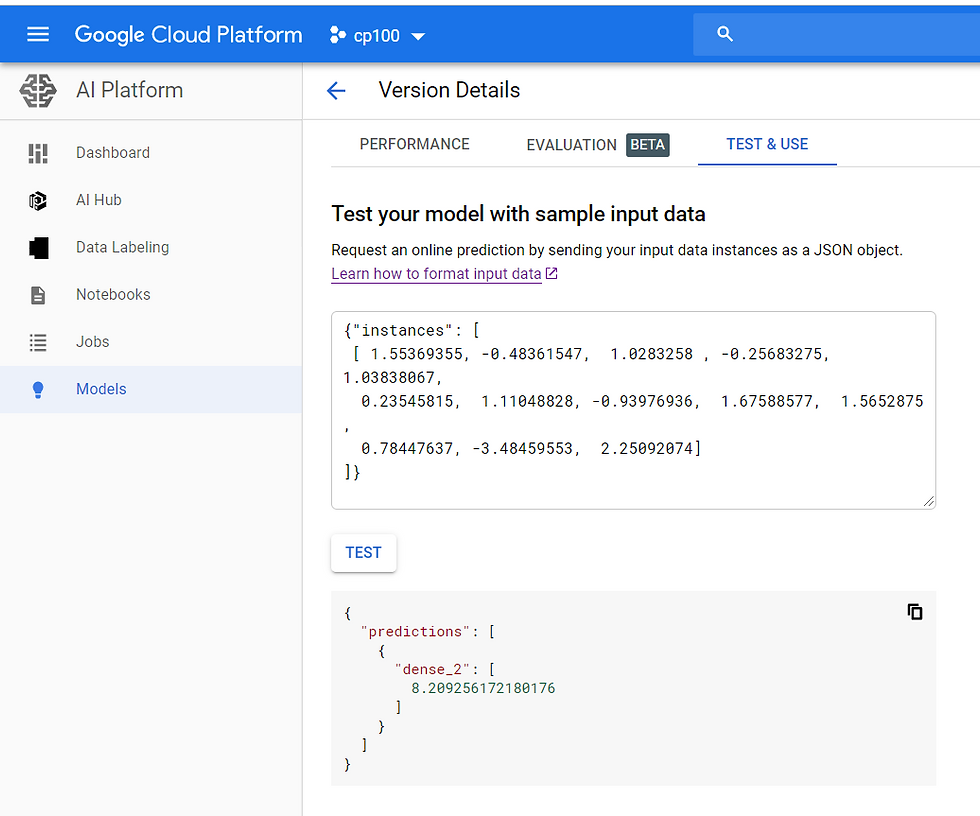
Lastly, testing the deployed model!
On the Notebook, execute the cell below to get one row of test data.

On AI Model, click on v1 and go to Test & Use. Paste the test data from the Notebook in the cell and click on Test. The result should match that in the Notebook!
Congratulations! You have deployed a Tensorflow Model on GCP!
Comments